In late April, a week before the first Penn Bots competition, I decided I was actually going to attend the event... Unfortunately I didn't have any working bots below 12lbs. So, I decided to throw together an antweight while I waited for HTGV to arrive in the mail.
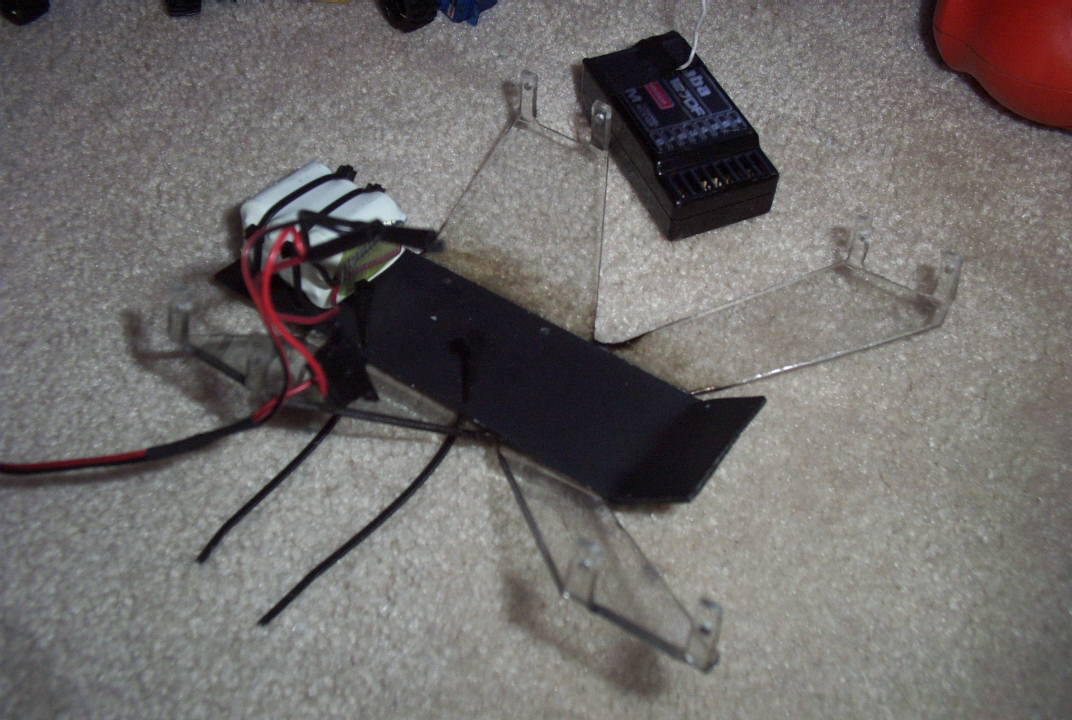
 With no design yet in mind, I started collecting parts. I had a bunch of antweight stuff lying around, but I had never gotten around to actually putting them together. Shown here are: 4 HS-50 servos from Servocity, a 7 Channel Receiver, a 7.2v 500mAh battery pack, and a piece of scrap Lexan. With no design yet in mind, I started collecting parts. I had a bunch of antweight stuff lying around, but I had never gotten around to actually putting them together. Shown here are: 4 HS-50 servos from Servocity, a 7 Channel Receiver, a 7.2v 500mAh battery pack, and a piece of scrap Lexan.
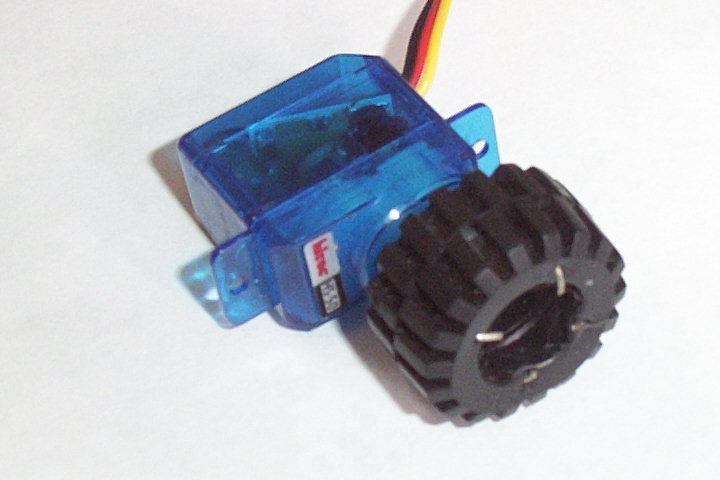
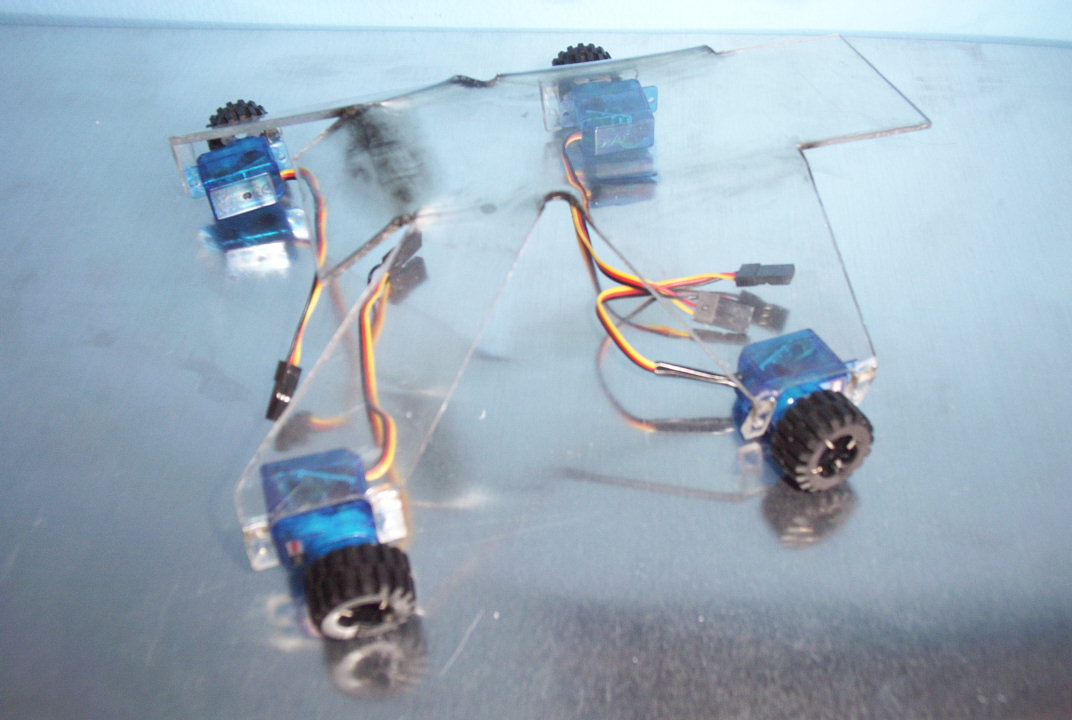
 Here's a close-up of one of the HS-50 servos. The wheels are mini Lego wheels held on to the servo horns with pins. Here's a close-up of one of the HS-50 servos. The wheels are mini Lego wheels held on to the servo horns with pins.
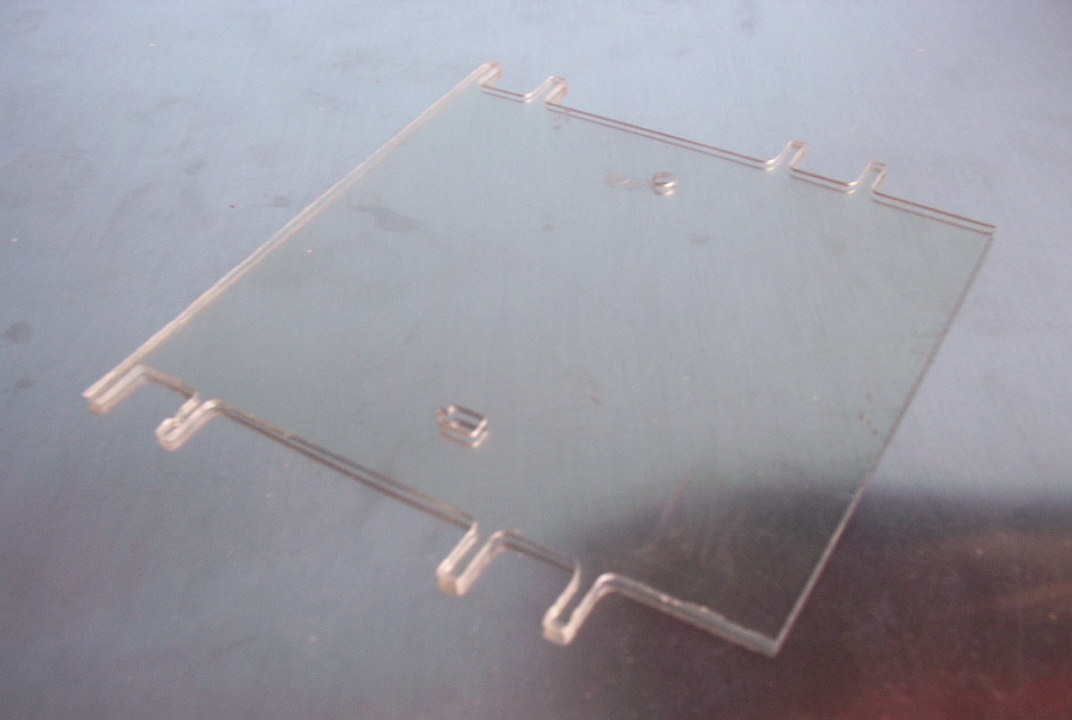
 I had some sort design in my head by now, and so I started cutting out the body by milling out the sides of the Lexan to form the servo mounts. I had some sort design in my head by now, and so I started cutting out the body by milling out the sides of the Lexan to form the servo mounts.
 ...After a little work with the tin snips, the bot is starting to resemble something... ...After a little work with the tin snips, the bot is starting to resemble something...
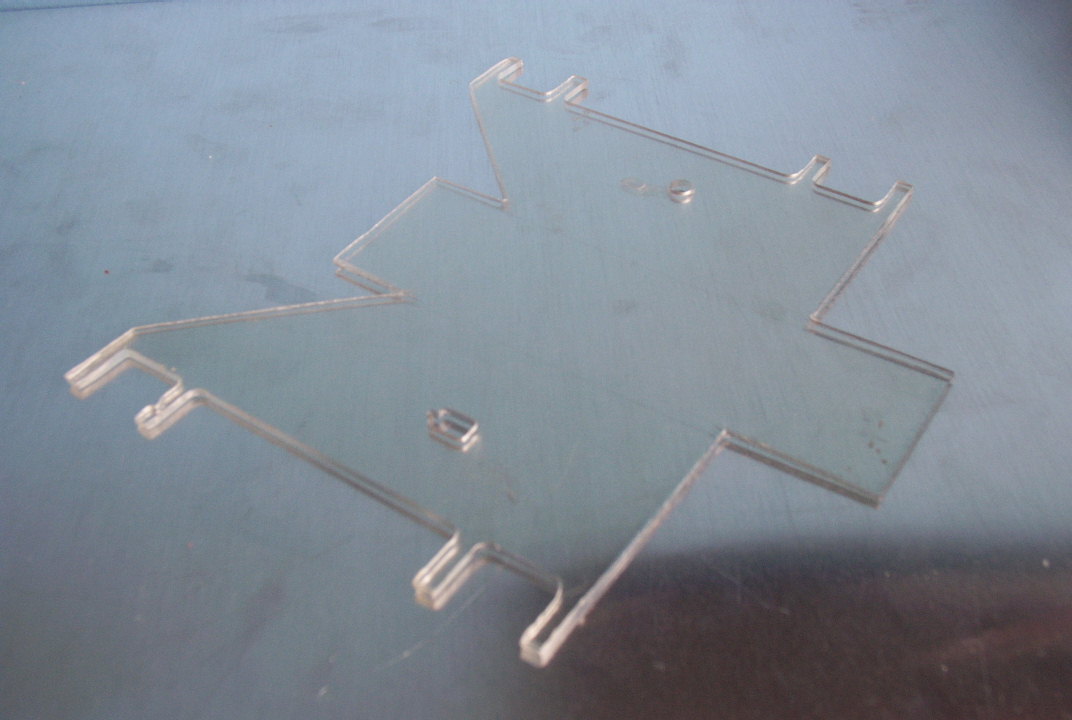
 Next I put the Lexan back on the mill and milled out the space between the 'legs'. Next I put the Lexan back on the mill and milled out the space between the 'legs'.
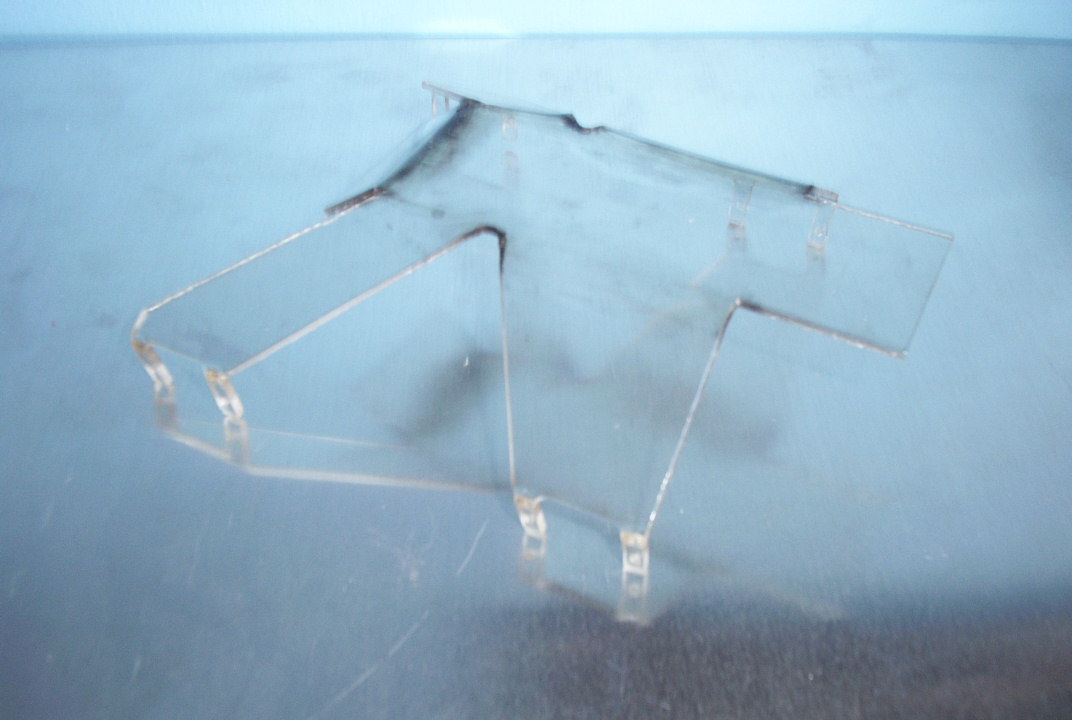
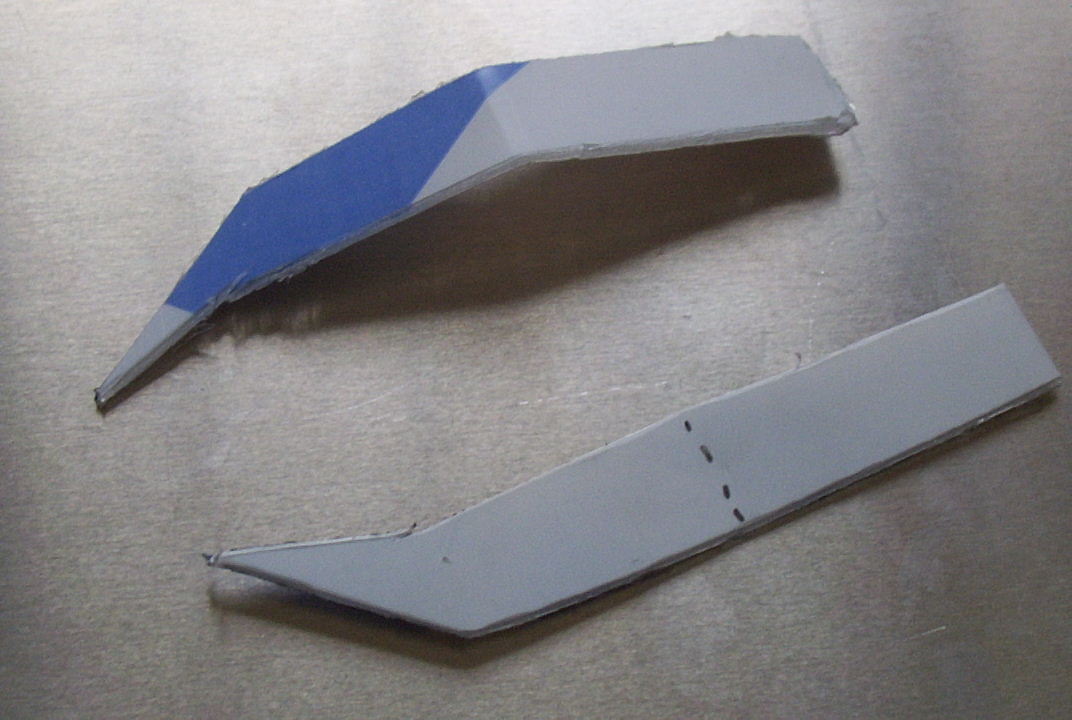
 After the frame was all cut out, I took out my handy-dandy 'Aim and Flame' and formed the Lexan into a 'buggy' shape. Look, ma! no bubbles! After the frame was all cut out, I took out my handy-dandy 'Aim and Flame' and formed the Lexan into a 'buggy' shape. Look, ma! no bubbles!
 I stuck the servos in the bot to see if they still fit, and to mark where to drill the holes for the mounting screws. I stuck the servos in the bot to see if they still fit, and to mark where to drill the holes for the mounting screws.
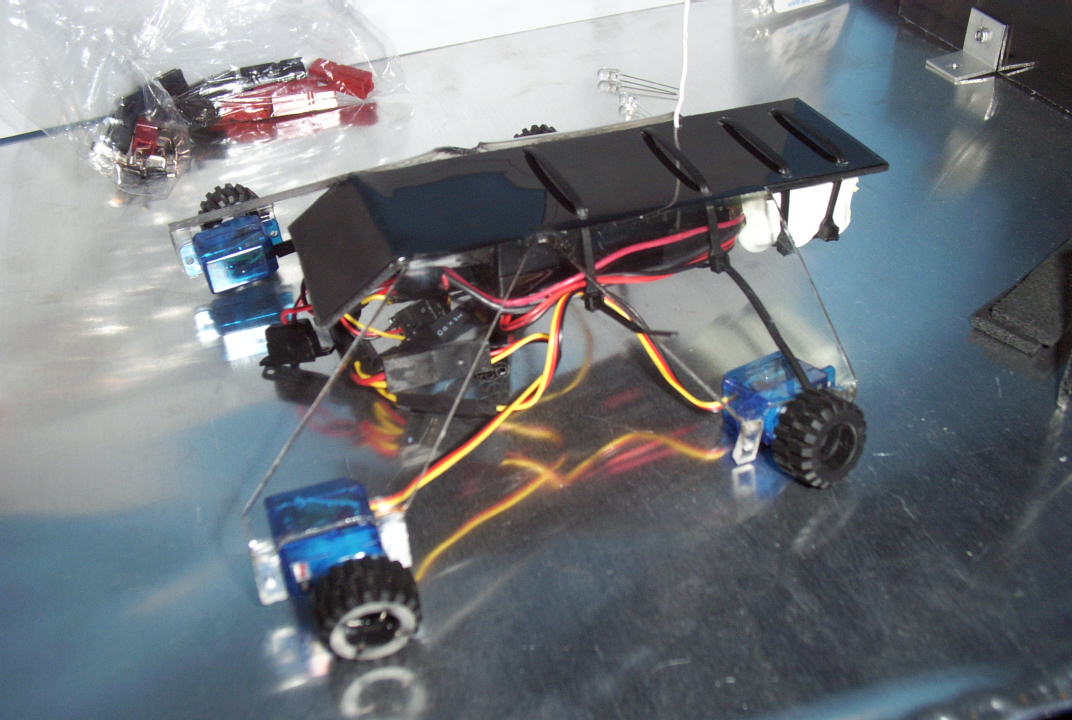
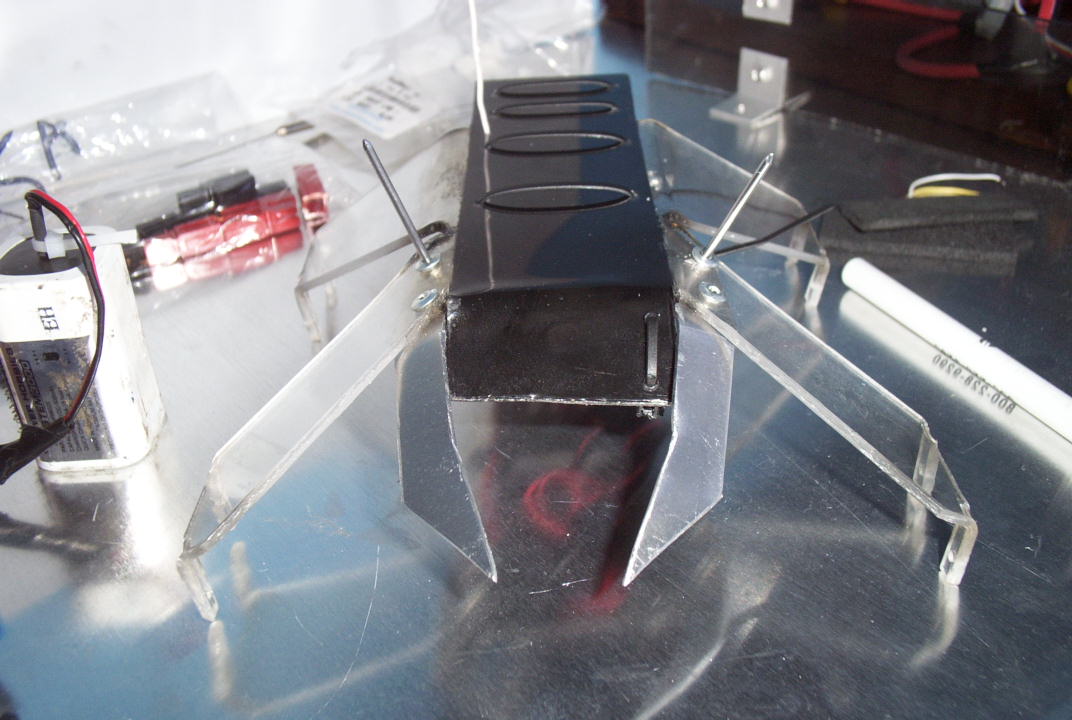
 Skip ahead a little bit... In this pic I've drilled the holes to mount the servos, spray painted the top of the frame black, and started mounting the guts using my favorite black zip ties. Skip ahead a little bit... In this pic I've drilled the holes to mount the servos, spray painted the top of the frame black, and started mounting the guts using my favorite black zip ties.
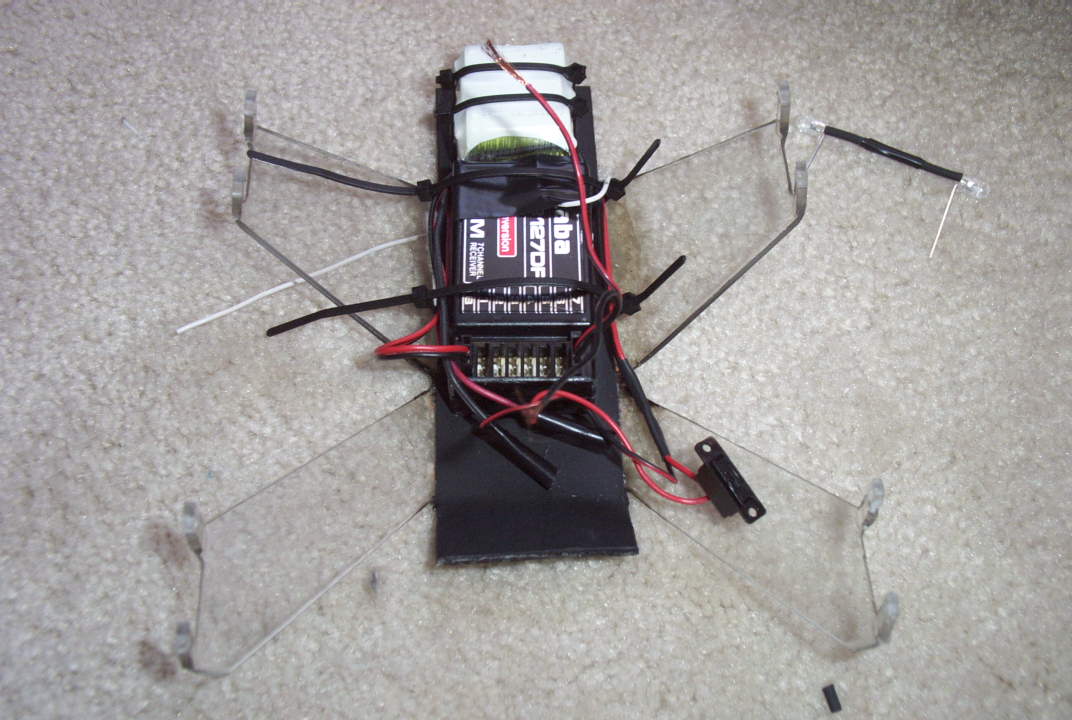
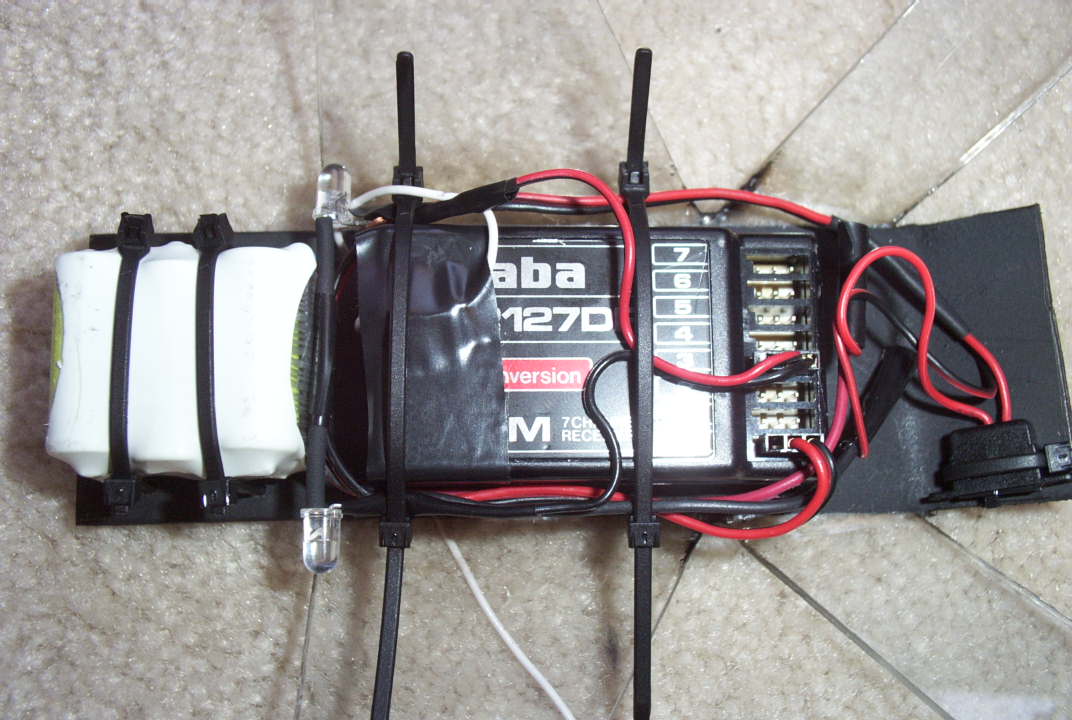
 Next I mounted the Rx (also with zip ties), and stuffed the wiring in. I couldn't connect the servos yet because I was still waiting for the itty-bitty screws from McMaster. I flipped it over to see how it was looking - So far so good :) Next I mounted the Rx (also with zip ties), and stuffed the wiring in. I couldn't connect the servos yet because I was still waiting for the itty-bitty screws from McMaster. I flipped it over to see how it was looking - So far so good :)
 Now to install the LEDs... I used a spare PWM cable and removed the signal cable from it in order to supply the LEDs with power. I found out the hard way that 7.2v will burn them out, so I hooked two up in series so they only received 3.6v each... I think... Well anyway, it worked. You can see the two LEDs lying on the floor next to the bot in this pic, and also the wire sticking out of the bot that they were going to be connected to. Now to install the LEDs... I used a spare PWM cable and removed the signal cable from it in order to supply the LEDs with power. I found out the hard way that 7.2v will burn them out, so I hooked two up in series so they only received 3.6v each... I think... Well anyway, it worked. You can see the two LEDs lying on the floor next to the bot in this pic, and also the wire sticking out of the bot that they were going to be connected to.
 Next I mounted the power switch... Easy enough. Just drilled two holes and stuck another of the black zip ties through it. Next I mounted the power switch... Easy enough. Just drilled two holes and stuck another of the black zip ties through it.
 Here's a view from the bottom... All the electronics are mounted, and the wiring is somewhat under control. Notice I haven't tightened and trimmed the zip ties holding the Rx down. Here's a view from the bottom... All the electronics are mounted, and the wiring is somewhat under control. Notice I haven't tightened and trimmed the zip ties holding the Rx down.
 ...Now just a flip of the switch and... oooOOooh.. pretty lights. :) These are Ultra-Bright LEDs I bought from All Electronics, and now I'm addicted to them. Expect them to start showing up on some of my other bots... ...Now just a flip of the switch and... oooOOooh.. pretty lights. :) These are Ultra-Bright LEDs I bought from All Electronics, and now I'm addicted to them. Expect them to start showing up on some of my other bots...
 ...A view from the top with the LEDs on ...A view from the top with the LEDs on
 The front of the bot seemed a little dull to me, so I decided to add something on. There wasn't any exposed metal on the bot yet, so I knew I wanted to make something out of Al. Here are some mock-up 'pincers' I made first out of Lexan to see if I liked them. The front of the bot seemed a little dull to me, so I decided to add something on. There wasn't any exposed metal on the bot yet, so I knew I wanted to make something out of Al. Here are some mock-up 'pincers' I made first out of Lexan to see if I liked them.
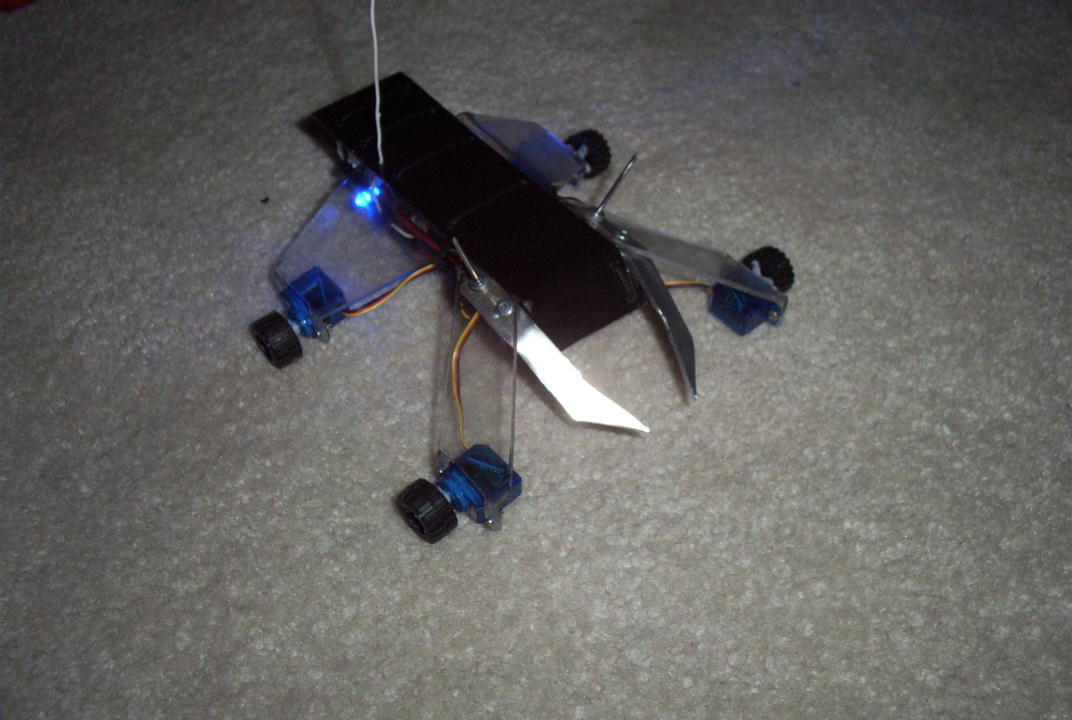
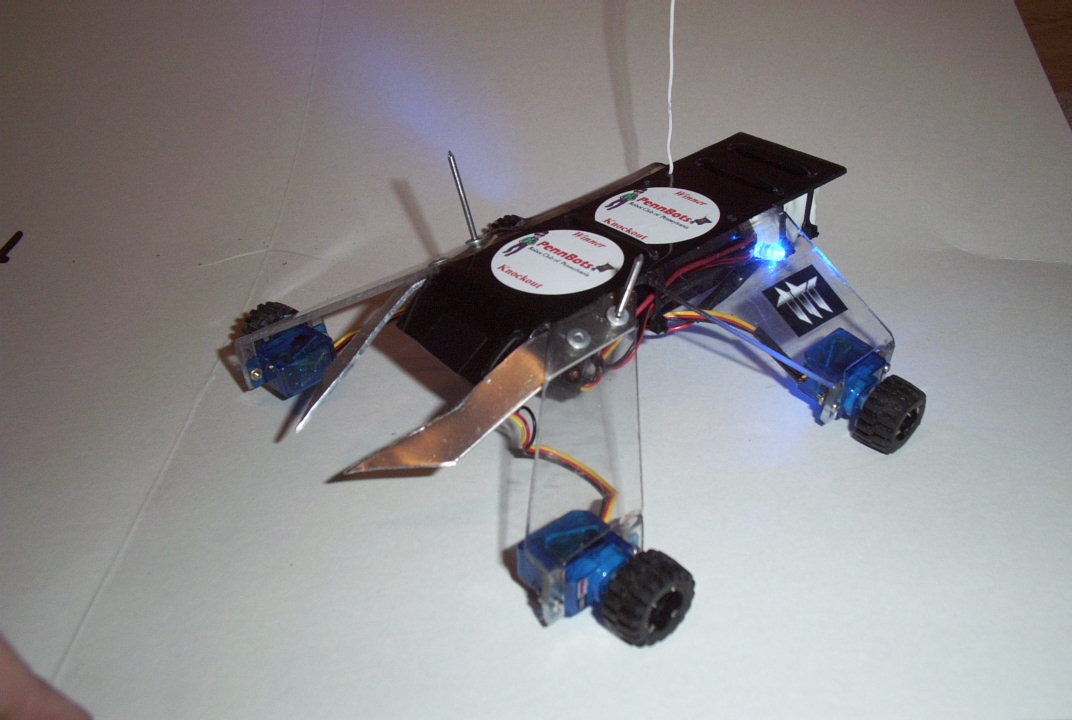
 After fiddling around with different places to put them, I decided this looked the best, so I made Aluminum pincers and riveted them on with 1/16" Rivets. I left 2 of the mandrels in to make it look fierce. After fiddling around with different places to put them, I decided this looked the best, so I made Aluminum pincers and riveted them on with 1/16" Rivets. I left 2 of the mandrels in to make it look fierce.
 Finally my machine screws arrived for holding the servos on. They're really tiny.. like #0-80 or something.. Finally my machine screws arrived for holding the servos on. They're really tiny.. like #0-80 or something..
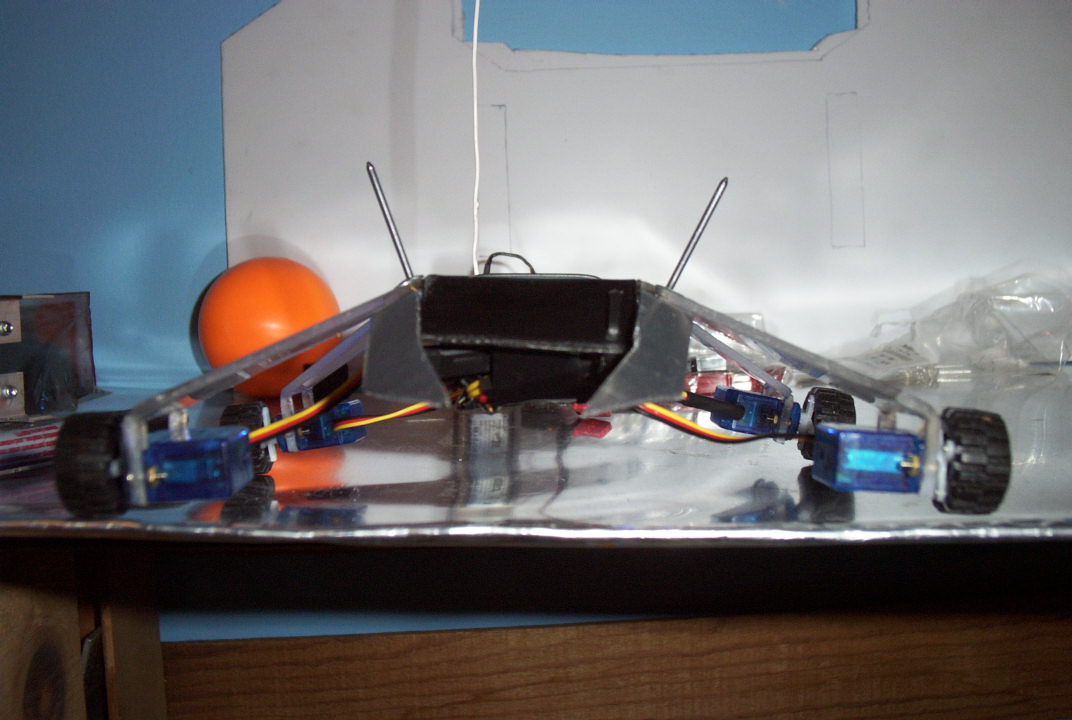
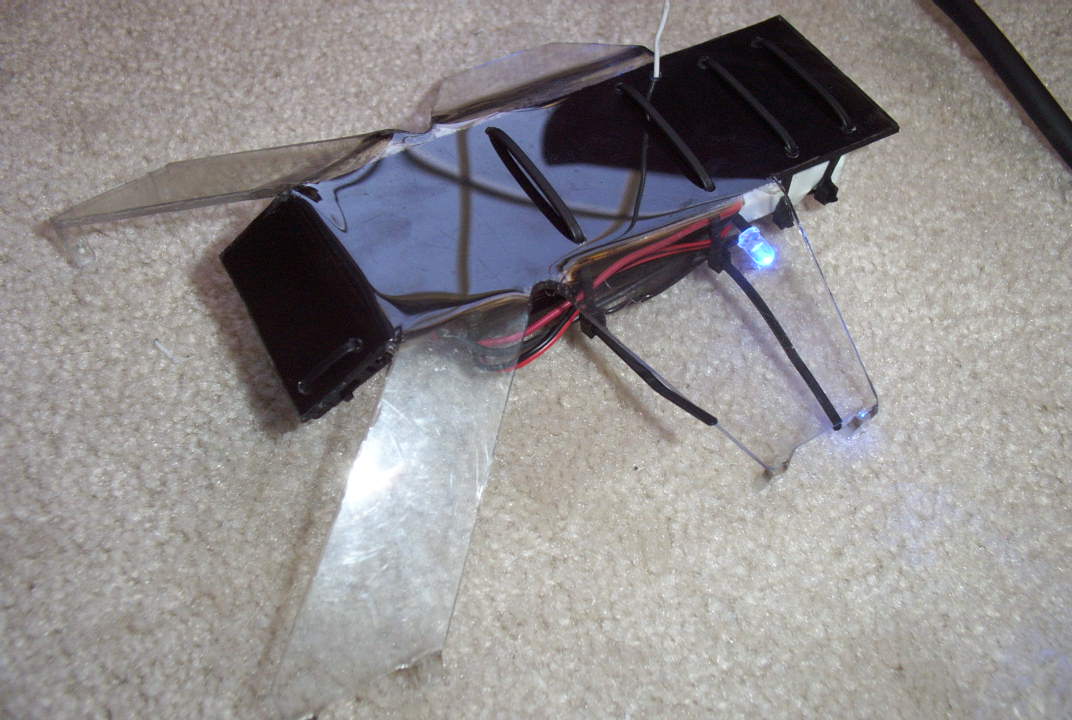
 Et Voila! Shimmy in all his pretty glory. Sure, he doesn't have a weapon and is 8oz underweight... but atleast he looks cool when he loses! Et Voila! Shimmy in all his pretty glory. Sure, he doesn't have a weapon and is 8oz underweight... but atleast he looks cool when he loses!
More Shimmy Pics: (Shimmy loves the camera!)
"I'm gonna shimmy, shimmy, shimmy through the break of dawn, Yeeaa!"
|
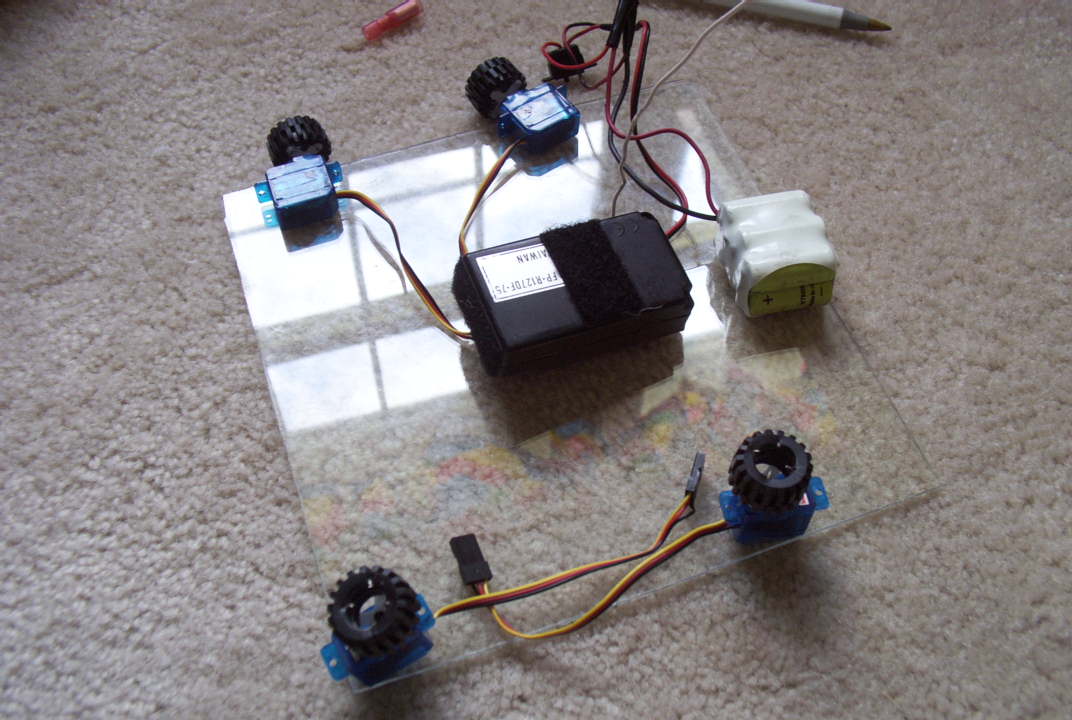 With no design yet in mind, I started collecting parts. I had a bunch of antweight stuff lying around, but I had never gotten around to actually putting them together. Shown here are: 4 HS-50 servos from Servocity, a 7 Channel Receiver, a 7.2v 500mAh battery pack, and a piece of scrap Lexan.
 Here's a close-up of one of the HS-50 servos. The wheels are mini Lego wheels held on to the servo horns with pins.
 I had some sort design in my head by now, and so I started cutting out the body by milling out the sides of the Lexan to form the servo mounts.
 ...After a little work with the tin snips, the bot is starting to resemble something...
 Next I put the Lexan back on the mill and milled out the space between the 'legs'.
 After the frame was all cut out, I took out my handy-dandy 'Aim and Flame' and formed the Lexan into a 'buggy' shape. Look, ma! no bubbles!
 I stuck the servos in the bot to see if they still fit, and to mark where to drill the holes for the mounting screws.
 Skip ahead a little bit... In this pic I've drilled the holes to mount the servos, spray painted the top of the frame black, and started mounting the guts using my favorite black zip ties.
 Next I mounted the Rx (also with zip ties), and stuffed the wiring in. I couldn't connect the servos yet because I was still waiting for the itty-bitty screws from McMaster. I flipped it over to see how it was looking - So far so good :)
 Now to install the LEDs... I used a spare PWM cable and removed the signal cable from it in order to supply the LEDs with power. I found out the hard way that 7.2v will burn them out, so I hooked two up in series so they only received 3.6v each... I think... Well anyway, it worked. You can see the two LEDs lying on the floor next to the bot in this pic, and also the wire sticking out of the bot that they were going to be connected to.
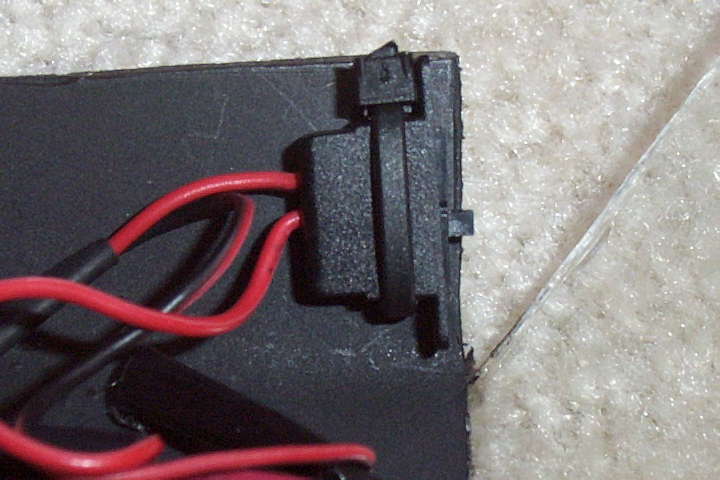 Next I mounted the power switch... Easy enough. Just drilled two holes and stuck another of the black zip ties through it.
 Here's a view from the bottom... All the electronics are mounted, and the wiring is somewhat under control. Notice I haven't tightened and trimmed the zip ties holding the Rx down.
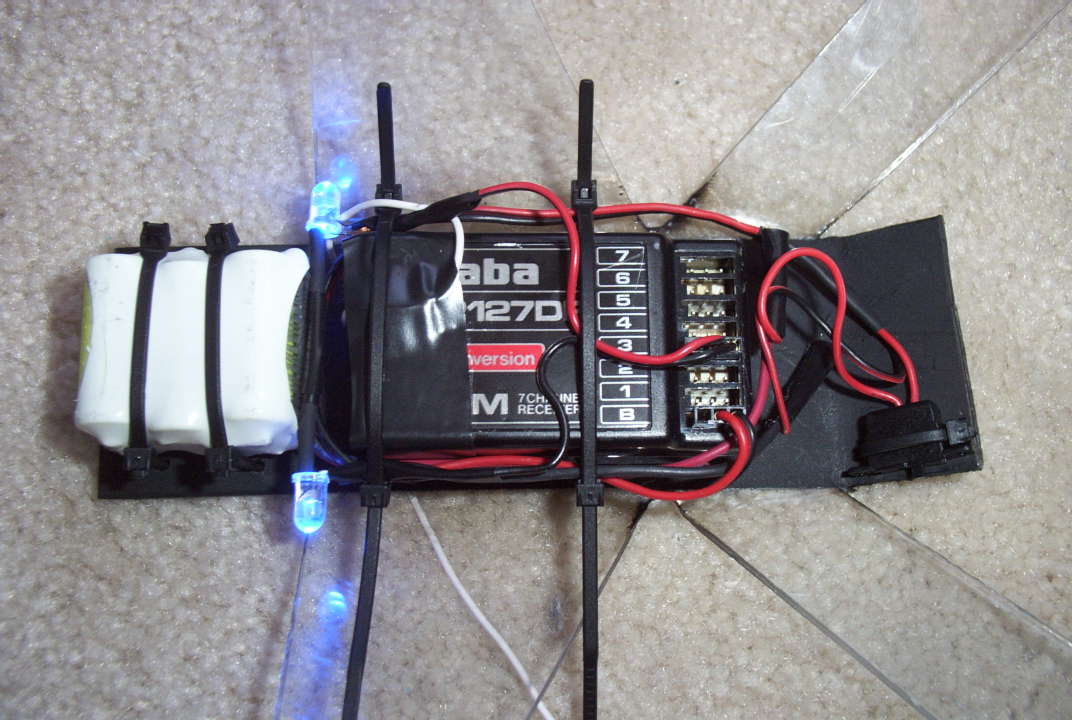 ...Now just a flip of the switch and... oooOOooh.. pretty lights. :) These are Ultra-Bright LEDs I bought from All Electronics, and now I'm addicted to them. Expect them to start showing up on some of my other bots...
 ...A view from the top with the LEDs on
 The front of the bot seemed a little dull to me, so I decided to add something on. There wasn't any exposed metal on the bot yet, so I knew I wanted to make something out of Al. Here are some mock-up 'pincers' I made first out of Lexan to see if I liked them.
 After fiddling around with different places to put them, I decided this looked the best, so I made Aluminum pincers and riveted them on with 1/16" Rivets. I left 2 of the mandrels in to make it look fierce.
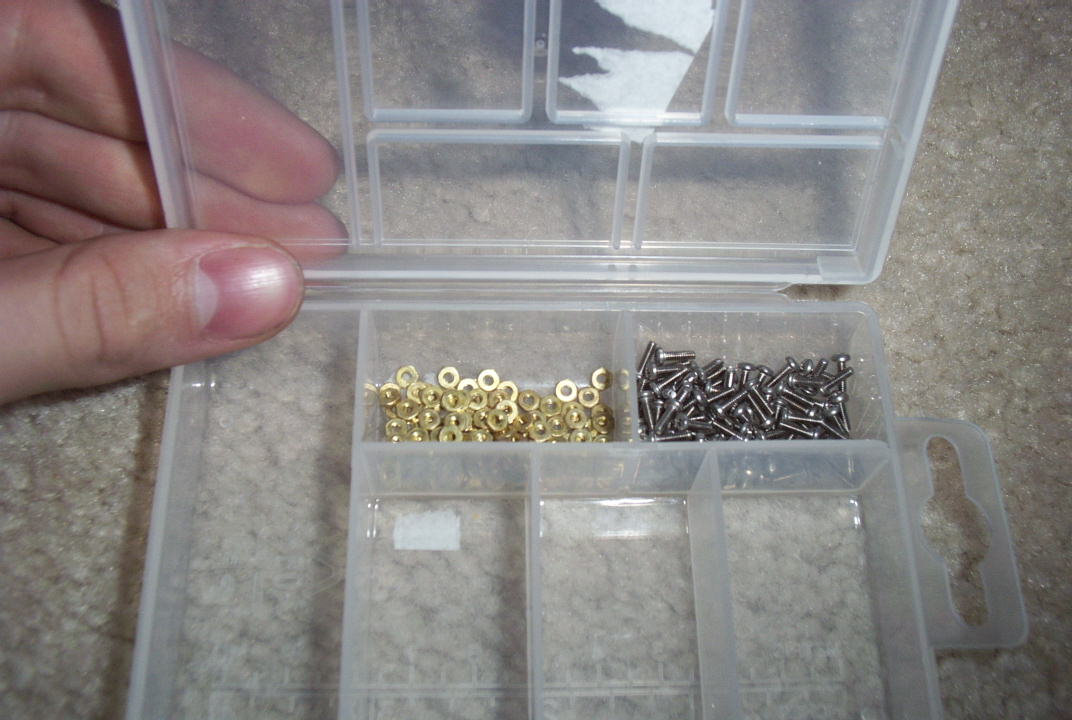 Finally my machine screws arrived for holding the servos on. They're really tiny.. like #0-80 or something..
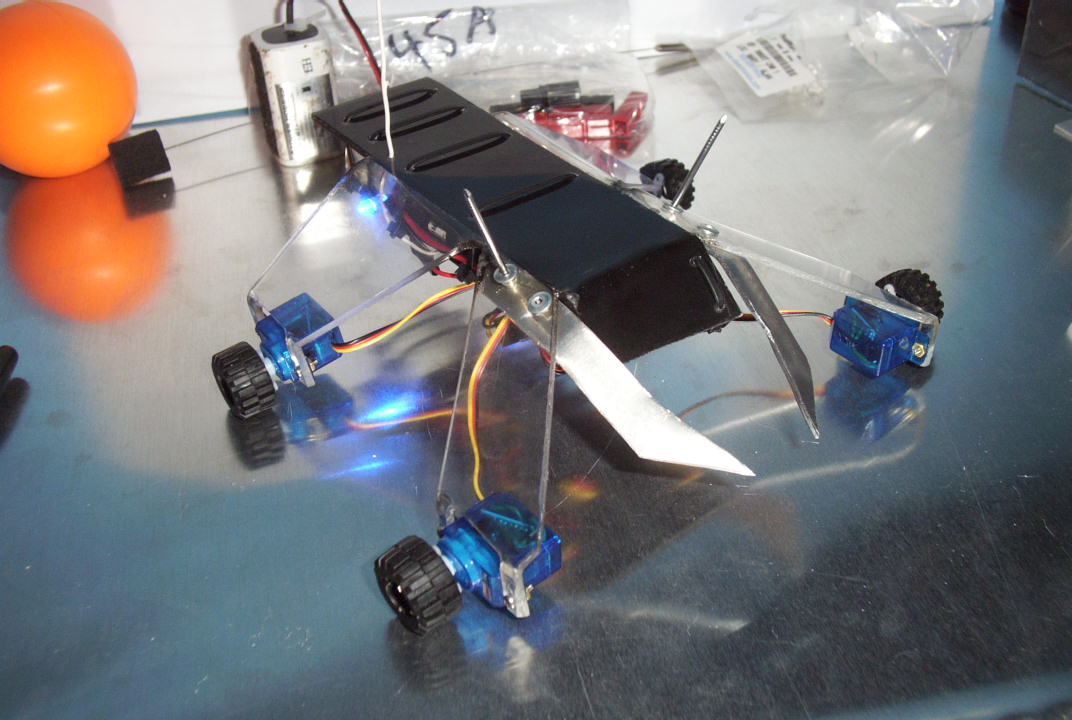 Et Voila! Shimmy in all his pretty glory. Sure, he doesn't have a weapon and is 8oz underweight... but atleast he looks cool when he loses!